An AWS Certified AI Practitioner Quick Study Guide
A brief post on how I prepared and passed the AWS Certified AI Practitioner exam with less than 20 hours of total study time

Cut to the chase - here’s the Sample Code Repository.
AWS has become notoriously complex. As I’ve explored in my posts about AWS certifications and deployment practices, understanding AWS services is crucial for modern development. Here’s a brief guide on how to add a ‘Lambda Layer’ with Puppeteer & Chromium to an AWS Lambda function execution environment for various purposes (notably scraping data / running a headless browser for tests / etc).
This post will be a bit opinionated as I’ve found what works for me - so, use it as a jumping off point for your project.
Earlier this year, I was running a bunch of automated jobs with GitHub Actions written in Python, but was quickly running out of my allotted 2,000 minutes per month. Around this time, I also decided to pursue building out a more productionalized In Short Pod as part of my Buildspace journey. Moving from a Proof of Concept to a live site was relatively straight forward. I knew that I needed to create an app with auth, a DB, ability to call serverless functions, etc…For deploying my code to AWS, I’ve been utilizing SST Ion. SST makes it dead simple to manage cloud infrastructure with common frameworks like Next.js, Astro, and several others. I’ve used this approach in several projects, including my CO2 emissions tracker, REI inventory notifier, and various AI implementations.
While the above all sounded good in my head, I needed to sit down and read the SST docs plus setup various roles & privileges on AWS. From there, it was relatively smooth sailing with minor hiccups with Node versions (NVM helped fix it) and miscellaneous timeouts.

SST is a framework that makes it easy to build modern full-stack applications on your own infrastructure. What makes SST different is that your entire app is defined in code - in a single
sst.config.tsfile. This includes databases, buckets, queues, Stripe Webhooks, or any one of 150+ providers.

Think of a Lambda Layer as a way to add a piece of functionality on top of an execution environment (more use cases are further given below). In our use case, it will be puppeteer.
Lambdas in general are difficult to debug locally, difficult to setup different stage environments, etc. With SST Ion and their Live Lambda functionality, you are able to debug Lambdas locally with the help of AWS IOT endpoints. Essentially (with SST’s help), you setup a network map to point from the AWS IOT function to the lambda function on your machine and back - making debugging a more delightful experience.
Live is a feature of SST that lets you test changes made to your AWS Lambda functions in milliseconds. Your changes work without having to redeploy. And they can be invoked remotely.
You can Read More Advantages of SST Live Here | Or Watch a YouTube Video
Lambda Layers were released back in November of 2018 - however, I haven’t seen many productionalized use cases for them. With this release, you were able to ‘package and deploy libraries, custom runtimes, and other dependencies separately from your function code. Share your layers with your other accounts or the whole world. For more details, see Lambda Layers.

After reading and re-reading countless blog posts, Stack Overflow questions, chatting with OpenAI (and Claude) - I finally wound up at a working solution after some trial and error.
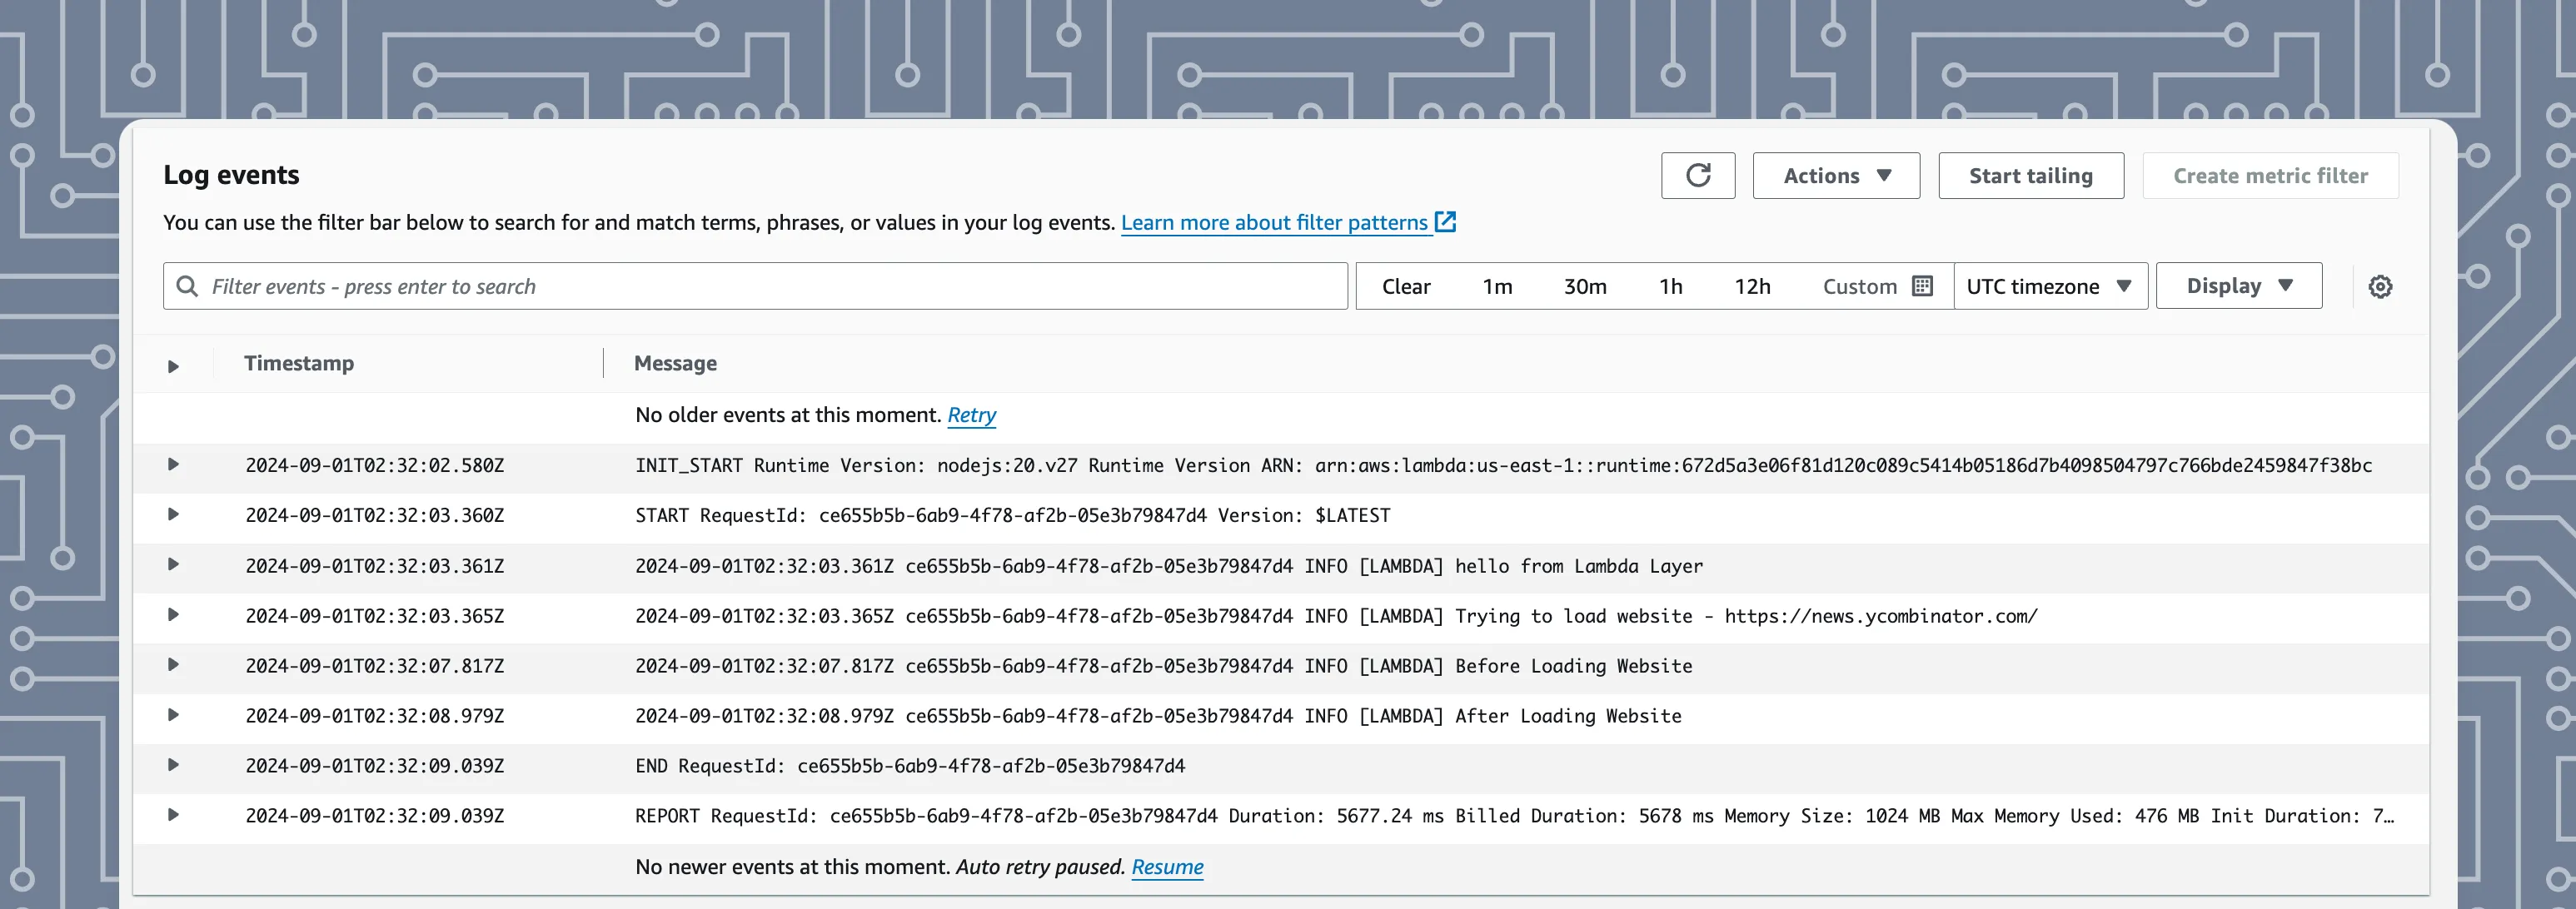
For the sake of this post, we’re going to assume the requirement is to load a webpage and output the data in the logs.
Steps -
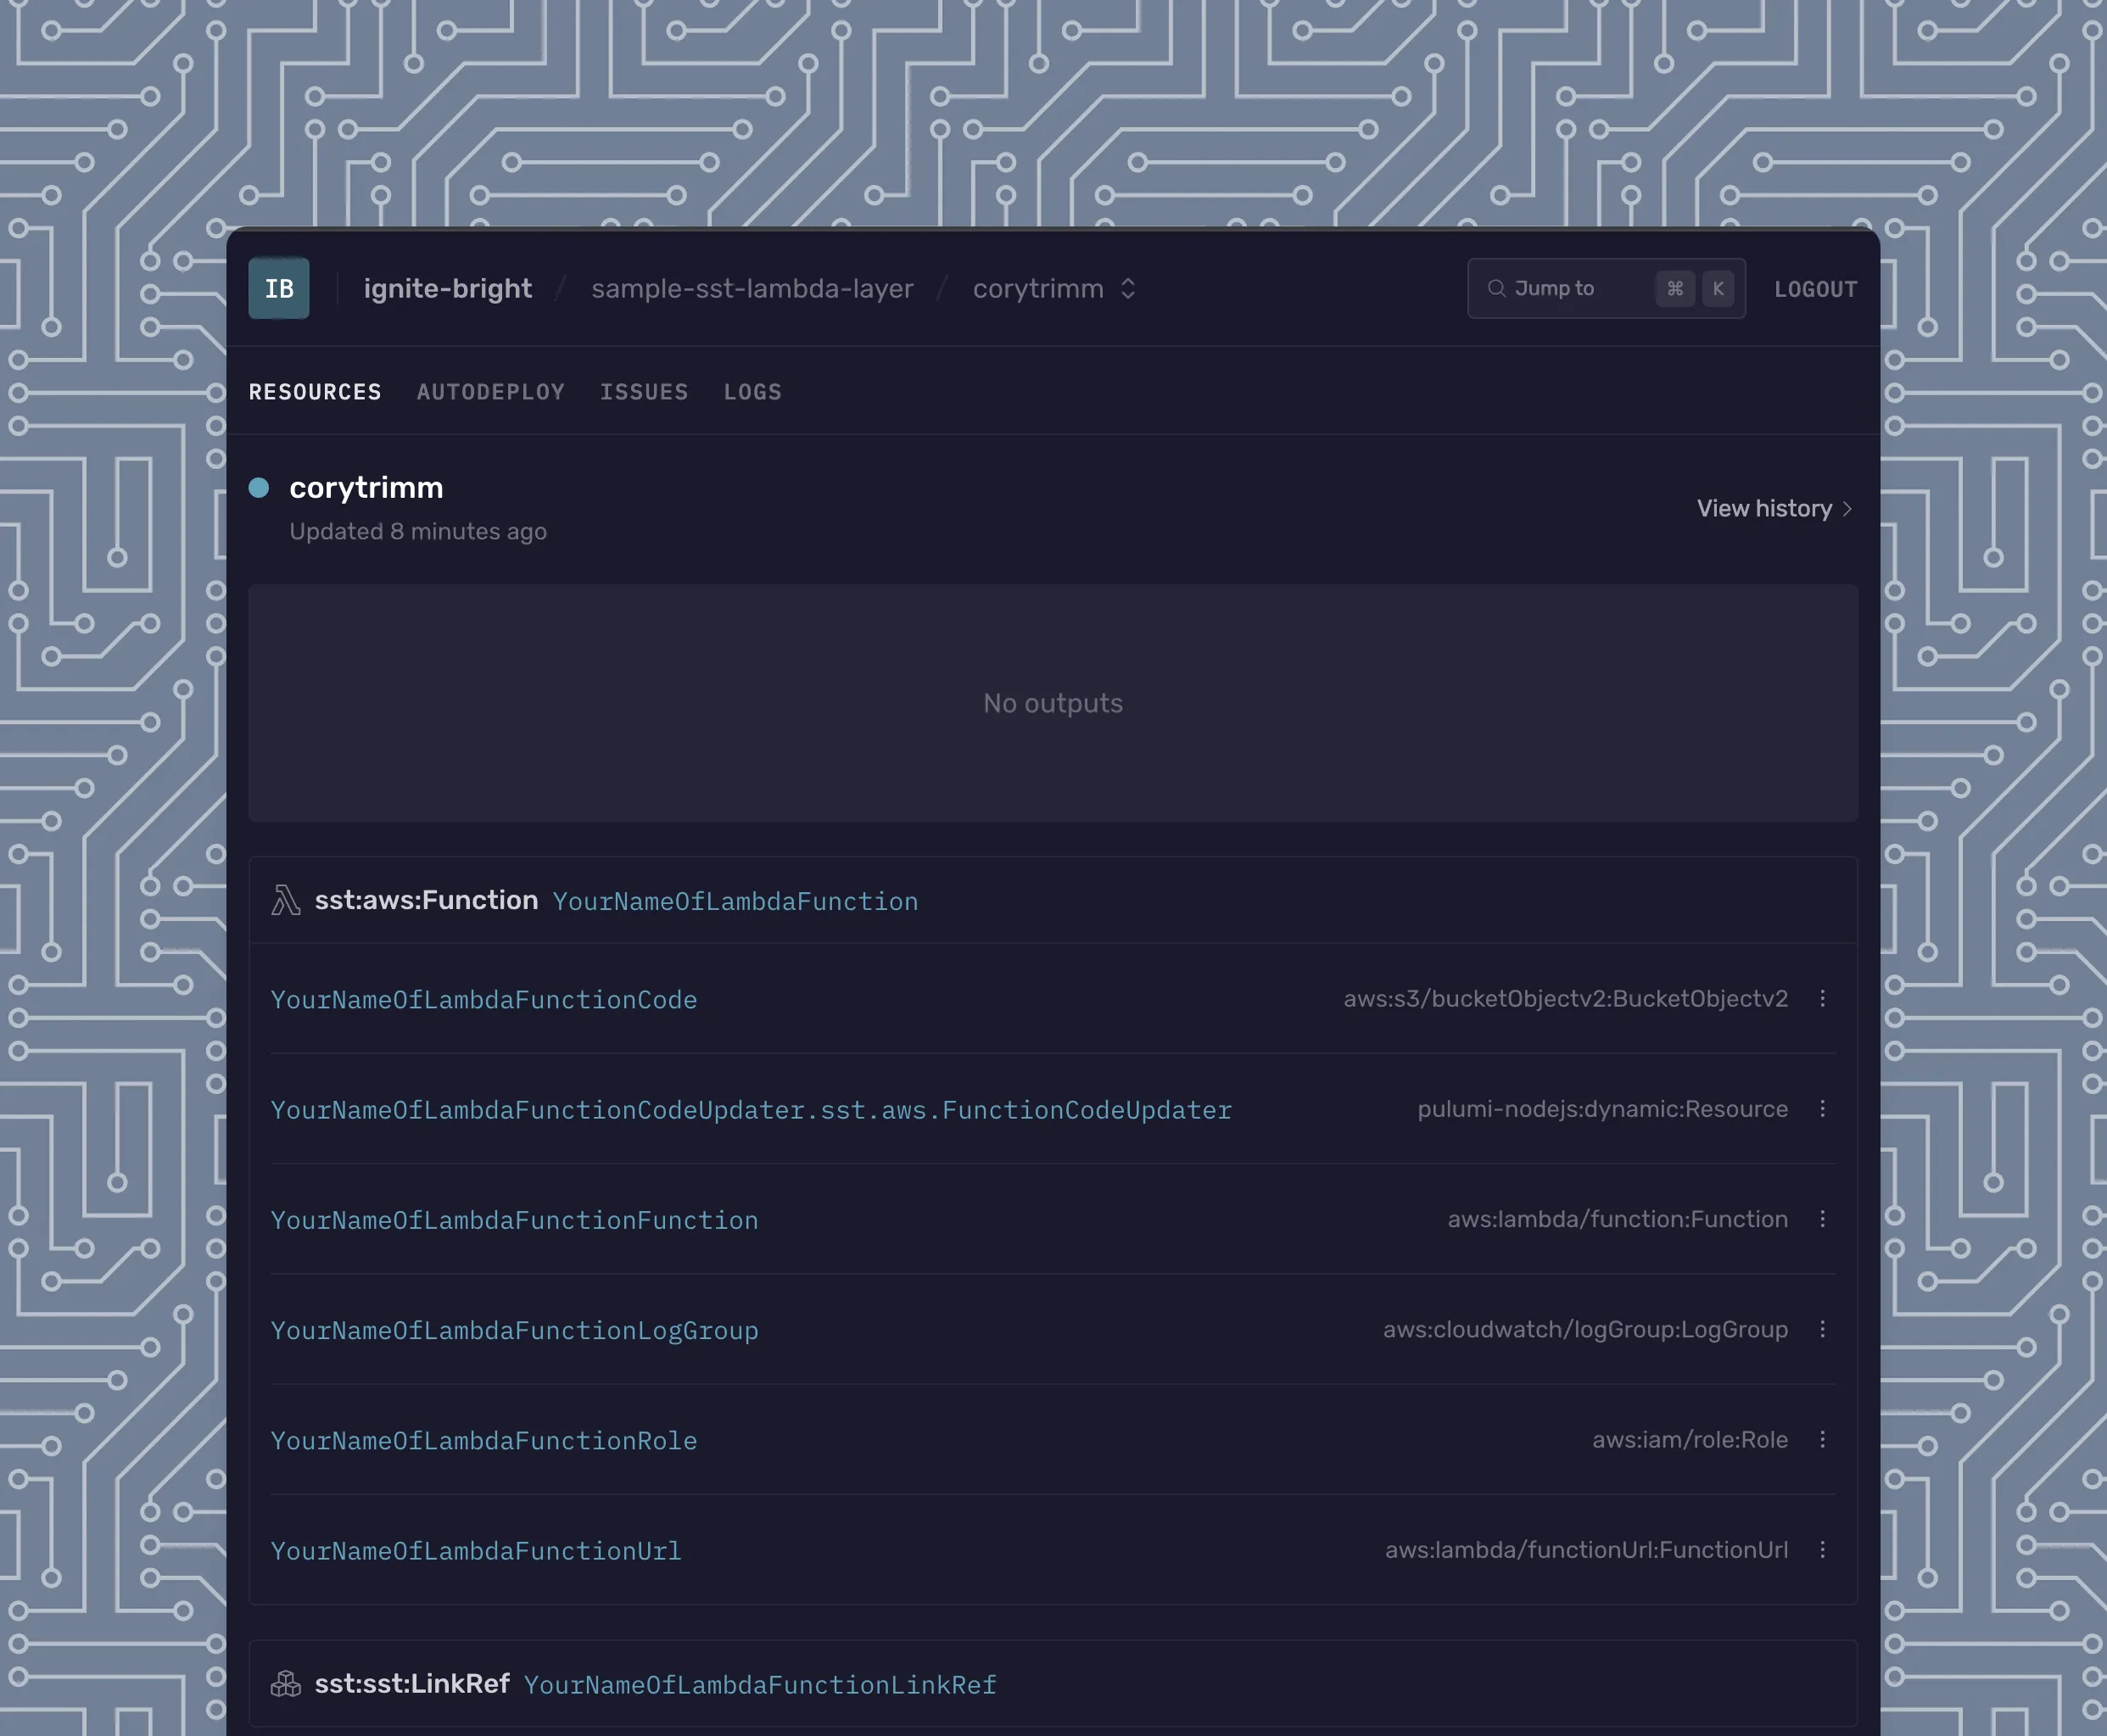
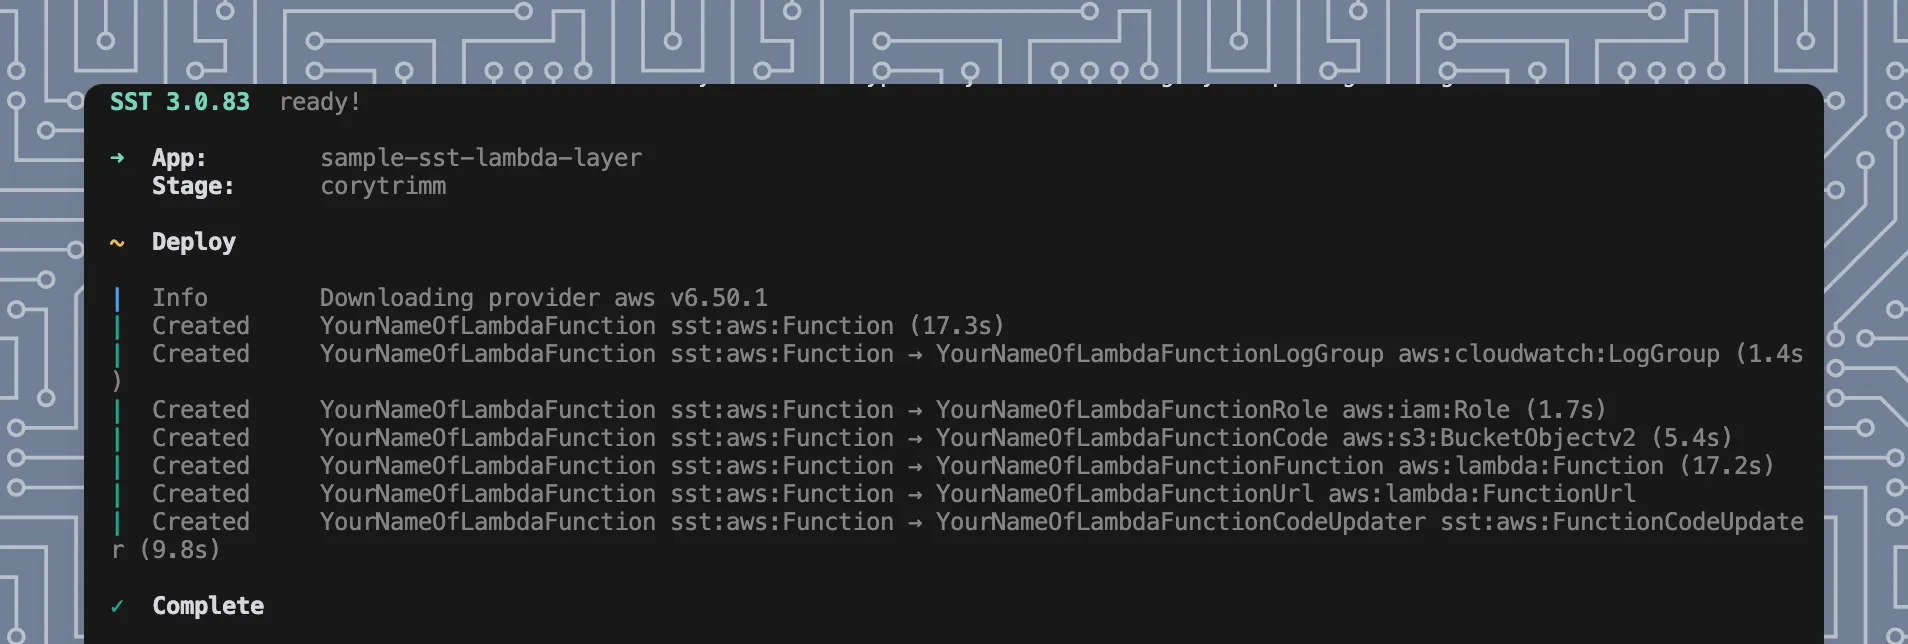
puppeteerReference.YourNameOfLambdaFunction.url.If you want to play around with this, I’ve created a sample repository that allows you to create a Lambda Function that Opens a Webpage + outputs some console.logs to the CloudWatch logs. Check it out for more details w/ how to start.

/// <reference path="./.sst/platform/config.d.ts" />

export default $config({
  app(input) {
    return {
      name: "sample-sst-lambda-layer",
      removal: input?.stage === "production" ? "retain" : "remove",
      home: "aws",
      providers: {
        aws: true,
      },
    };
  },
  async run() {

    const yourNameOfLambdaFunction = new sst.aws.Function("YourNameOfLambdaFunction", {
      handler: "lambda/scrape-website.handler",
      timeout: "4 minutes",
      memory: "1024 MB",
      logging: {
        retention: "1 month"
      },
      // NOTE - The ARN below will depend on the region you are deployed to in AWS
      // For More - Read - https://github.com/shelfio/chrome-aws-lambda-layer?tab=readme-ov-file#getting-started
      layers: ["arn:aws:lambda:us-east-1:764866452798:layer:chrome-aws-lambda:45"],
      nodejs: {
        install: ["@sparticuz/chromium", "puppeteer-core"]
      },
      url: true
    });
  }
});
In our working directory, we’ll want to have a file at lambda/scrape-website.handler which will complete the opening of a webpage + outputting data.
By setting the url: true, we are creating a URL that we can hit in order to kickoff the Lambda Function. This is beneficial when calling it from your application.
You can read the other options that are set for the sst.aws.Function and they are relatively straightforward - we’re setting the timeout duration, the memory of the Lambda Function, the logging retention time, the layer(s) to use and the nodejs packages to install.
From here, we need to create our scrape-website.js file. Since we’re wanting to open a specific webpage, we will need to pass that in as part of the body for the request.
import puppeteer from "puppeteer-core";
import chromium from "@sparticuz/chromium";

// Helper function to wait for a given timeout
const waitForTimeout = (timeout) => new Promise(resolve => setTimeout(resolve, timeout));

// Lambda handler
// `event` will contain -
//   { userUUID, podcastName, podcastDescription, podcastImageURL }
export async function handler(event) {
  // this should accept an event with the userId and the new Image url
  console.log('[LAMBDA] hello from Lambda Layer');
  const body = JSON.parse(event.body);
  const website = body.website;
  console.log('[LAMBDA] Trying to load website - ', website);

  let browser;
  try {
    chromium.setGraphicsMode = true;
    browser = await puppeteer.launch({
      args: [...chromium.args, '--disable-gpu'],
      defaultViewport: chromium.defaultViewport,
      executablePath: await chromium.executablePath(
        '/opt/nodejs/node_modules/@sparticuz/chromium/bin'
      ),
      headless: chromium.headless,
    });

  } catch (error) {
    console.error('[LAMBDA] Error launching Puppeteer:', error);
    throw error;
  }

  try {
    const page = await browser.newPage();

    console.log('[LAMBDA] Before Loading Website');
    await page.goto(website, { waitUntil: 'networkidle2' });
    comsole.log('[LAMBDA] After Loading Website');

    // INSERT PUPPETEER LOGIC
    // INSERT PUPPETEER LOGIC
    // INSERT PUPPETEER LOGIC

    await browser.close();
  } catch (error) {
    console.error('[LAMBDA] Error in handler:', error);
  } finally {
    if (browser) {
      await browser.close();
    }
  }
}

Official Docs:
Blog Posts:
If you’ve made it this far on this post and want to work together on a project, please reach out to me.